Quick Answer: The same ingredients can look flat or stunning depending on layout. Place cheeses first and spread them apart, add bowls for height, fold meats into a river, fan crackers in curves, group colors in odd numbers, fill every gap and finish with herbs. These seven moves take about ten extra minutes.
Nothing new was bought for the "after" boards below. Same ingredients, same board, different layout. Save this before your next party, because layout is the cheapest upgrade there is.
Glow-up 1: The weeknight board
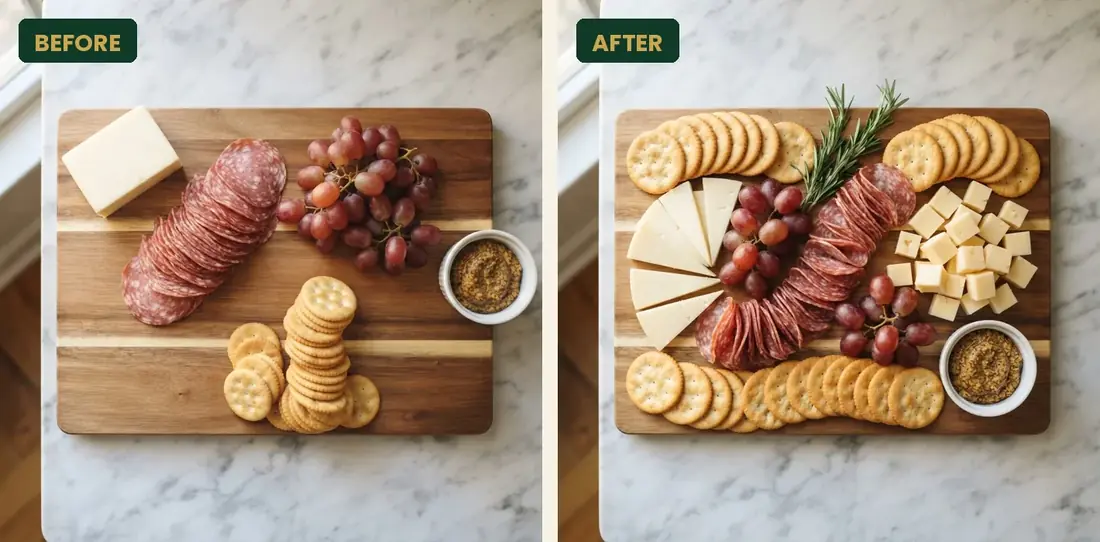
Before: A block of cheddar in one corner, a pile of crackers in another, salami slices laid flat in a stack and grapes still on the bag's stem in a heap.
After: Cheddar cut into a mix of wedges and cubes in two spots, salami folded into quarters in an S-shaped river between them, crackers fanned in two curves, grapes split into three small clusters, and a sprig of rosemary tucked in.
What changed: splitting items into more than one spot makes the eye travel across the board.
Glow-up 2: The party board
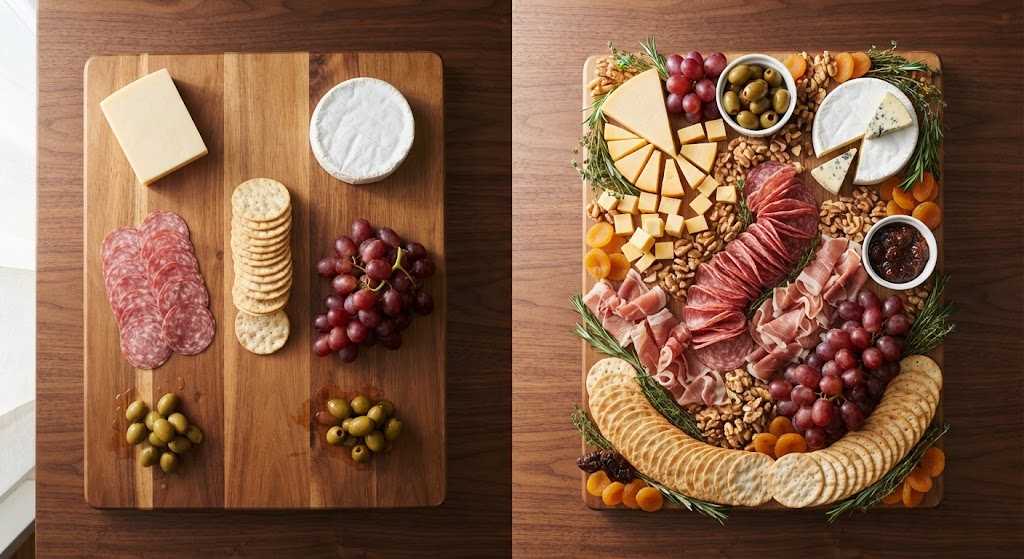
Before: Five cheeses in a row, every meat in a single pile, dips crowding the center and the crackers soaking up olive brine.
After: Three cheeses spread in a triangle, two small bowls for olives and jam, prosciutto draped in loose ribbons, salami rose in the center, crackers along the edges, and nuts and dried fruit filling every gap.
What changed: bowls stop the leaks, and a clear focal point (the salami rose) gives the board a center. The Party Planner tells you how much to put on it.
Glow-up 3: The date-night board
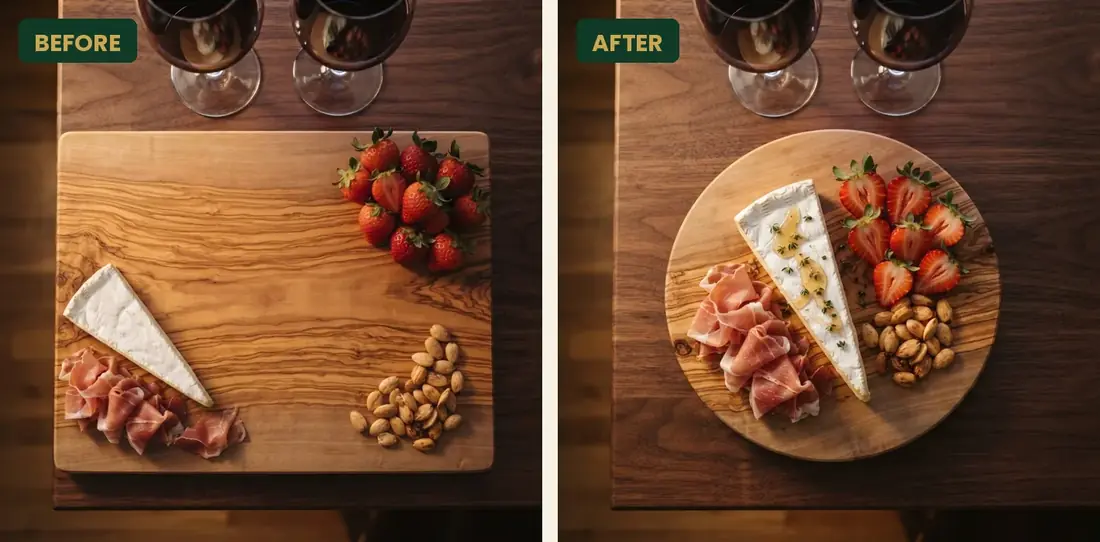
Before: Too much food for two, all flat, with a big empty space in the middle.
After: A smaller board. One wedge of brie standing on its side, prosciutto folded next to it, a small pile of Marcona almonds, strawberries halved and cut side up, a drizzle of honey and a few thyme leaves.
What changed: a smaller surface and less food look more generous. The board for two guide has the full list.
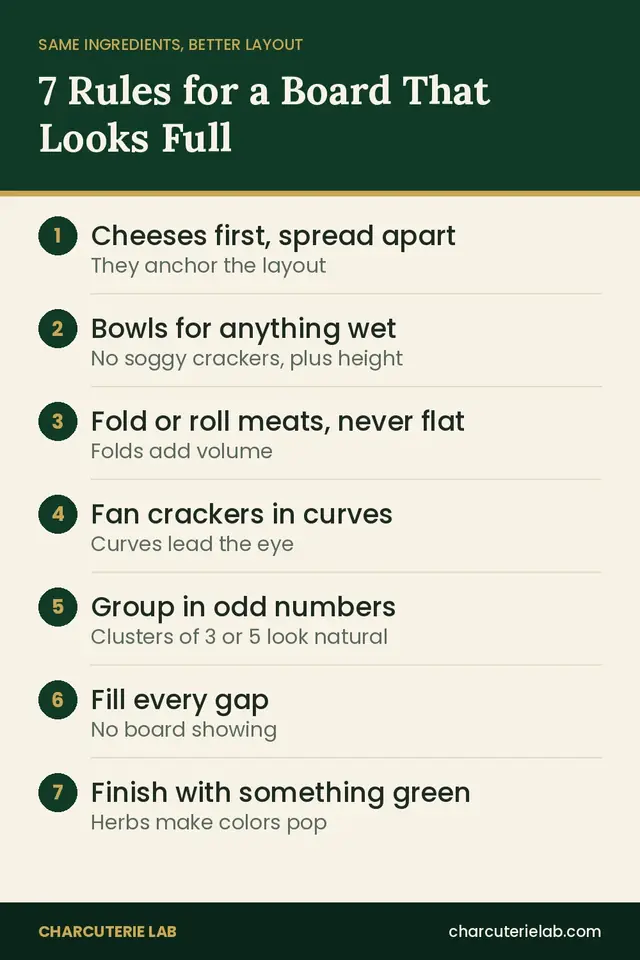
The seven styling rules
| # | Rule | Why it works |
|---|---|---|
| 1 | Cheeses first, spread apart | They anchor the layout and set the spacing |
| 2 | Bowls for anything wet, and for height | Stops soggy crackers and adds a second level |
| 3 | Fold or roll meats, never flat | Folds add volume and texture |
| 4 | Fan crackers in curves | Curves lead the eye around the board |
| 5 | Group in odd numbers | Clusters of 3 or 5 look natural |
| 6 | Fill every gap | No empty board showing makes it look abundant |
| 7 | Finish with something green | Herbs make the colors pop in photos |
How to fold the meats
- Salami quarters: fold a slice in half, then in half again. Tuck them in a row so the points face the same way.
- Salami river: overlap folded slices in an S-curve between the cheeses.
- Prosciutto ribbons: hold a slice at both ends and let it fall in loose waves.
- Salami rose: layer slices over the rim of a glass, overlapping each by half, then flip it out.
Color: the fastest upgrade
Spread each color across at least two spots on the board: red (salami, berries), green (grapes, herbs, olives), orange (apricots, cheddar), and dark (figs, chocolate, blackberries). A board with color on every side looks planned, even if it took ten minutes. Contrast works for flavor too; the Pairings Hub explains why. Short on time? Do the slicing and folding the night before.
Try it on your next board
Build your board, take a "before" photo, restyle it with the seven rules and post both. Tag a friend who needs a glow-up. For a full layout you can copy, open any plan in the Board Library, and see the 10 board mistakes to avoid.
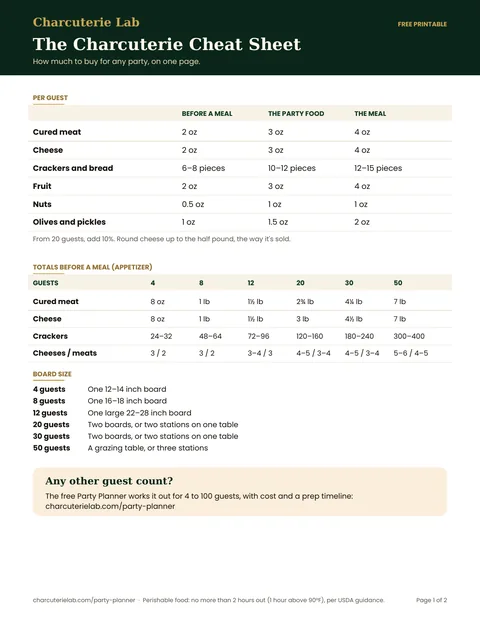
Get one board idea a week, plus the free charcuterie cheat sheet, when you join the Charcuterie Lab newsletter.